LED Dice DIY Electronic Kit Dice Touch Control Soldering Project Practice Suite LED Flashing Light Circuit Experiment
Default Title
$3.84
Sale price
$3.84
Regular price
$3.84
Skip to product information


LED Dice DIY Electronic Kit Dice Touch Control Soldering Project Practice Suite LED Flashing Light Circuit Experiment
$3.84
Sale price
$3.84
Regular price
$3.84
SPECIFICATIONS
Application: DIY
Brand Name: IS
Condition: New
Feature: LED Dice DIY Kit
High-concerned chemical: None
Operating Temperature: -40~85 Celsius
Origin: Mainland China
Package: SOP
Supply Voltage: DC 9V
Type: Logic ICs
Work Current: 500mA
is_customized: Yes
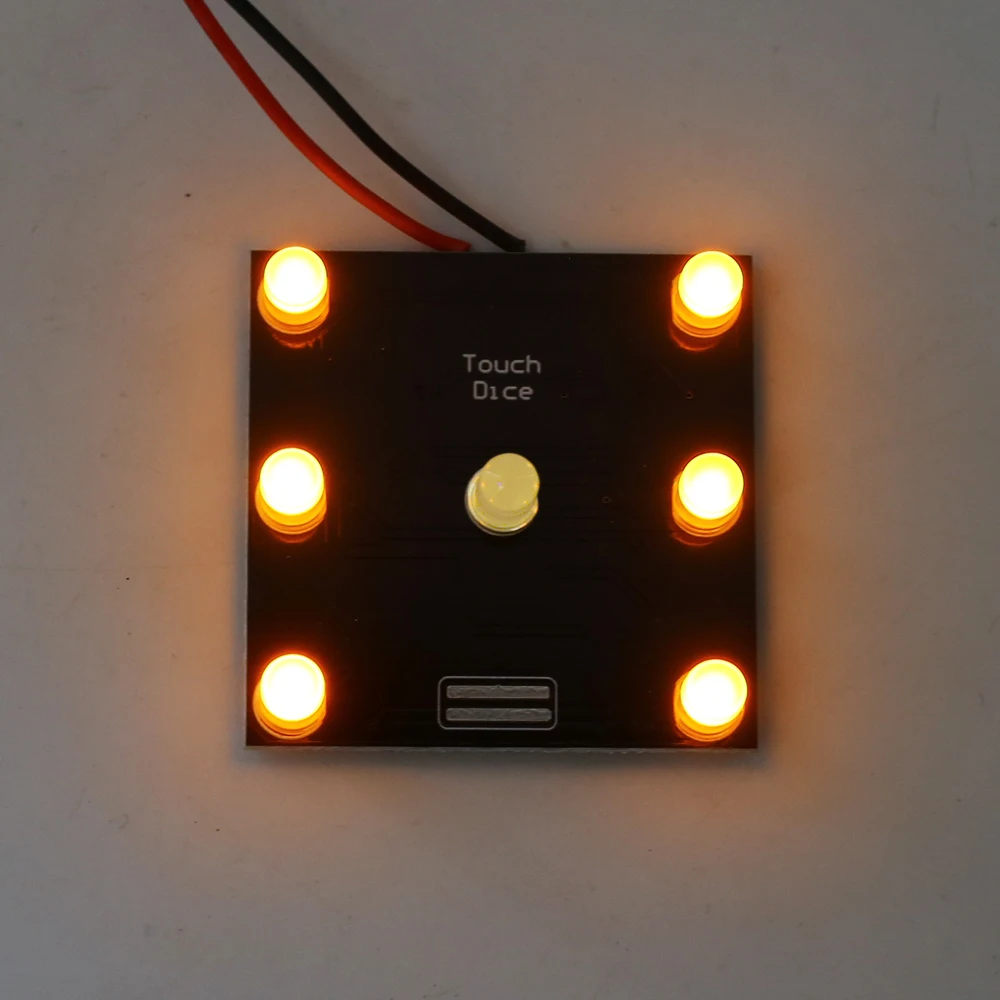
LED Dice DIY Kit Electronic Dice Touch Control LED Flashing Light Circuit Experiment for Welding Beginner
1.Introduction:
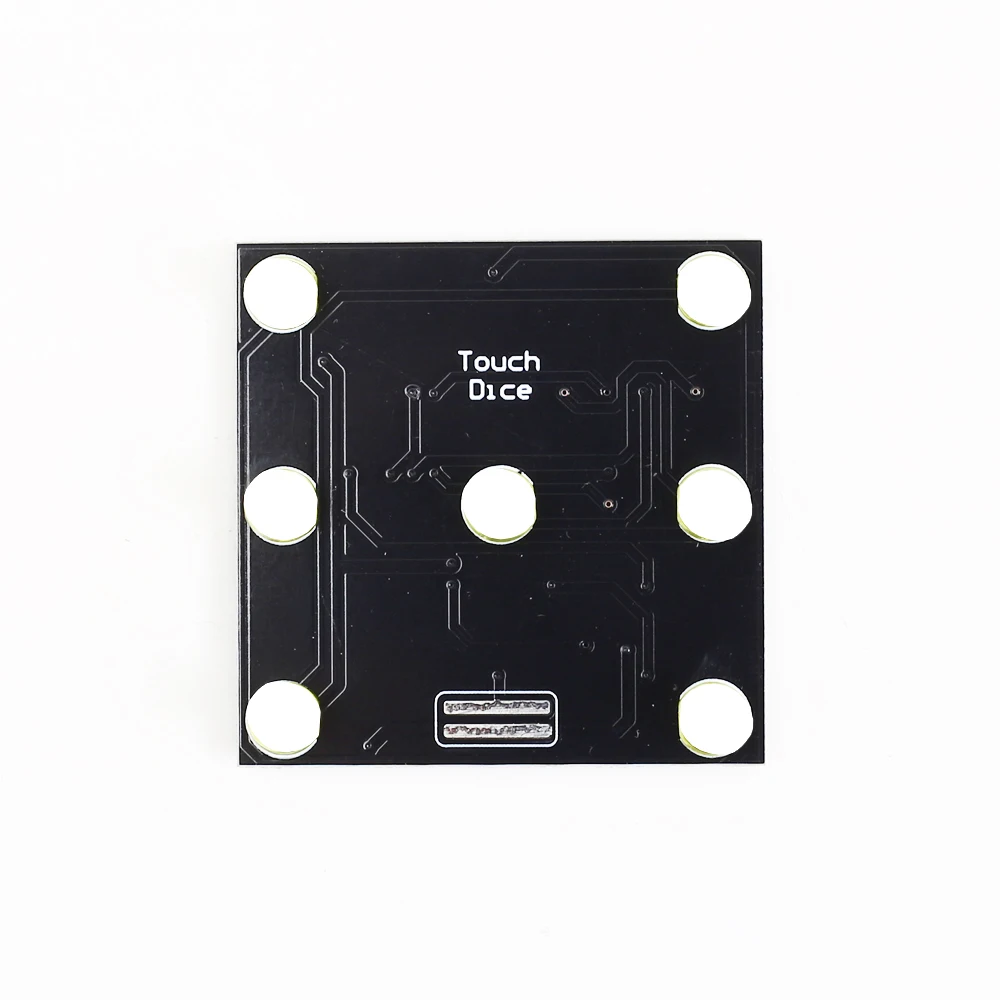
It is a touch-controlled electronic dice. The displayed numbers are randomly displayed after each press of the touch button.
2.Feature:
1>.Touch button control
2>.Electronic simulation dice
3>.DIY manual welding
4>.Simple and easy to operate
3.Parameter:
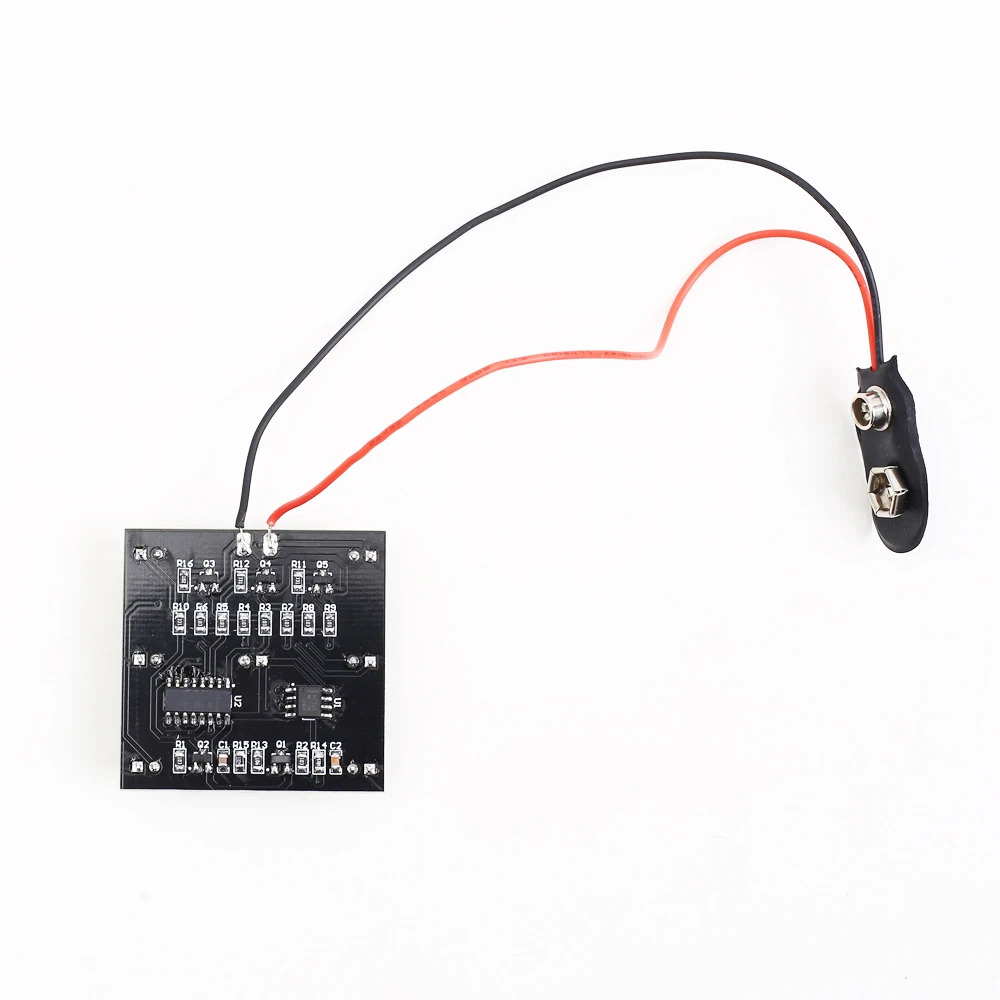
1>.Work Voltage:DC 9V
2>.Work Current:50mA
3>.Work Module:Touch Button Control
4>.Work Temperature:-40℃~85℃
5>.Work Humidity:0%~95%RH
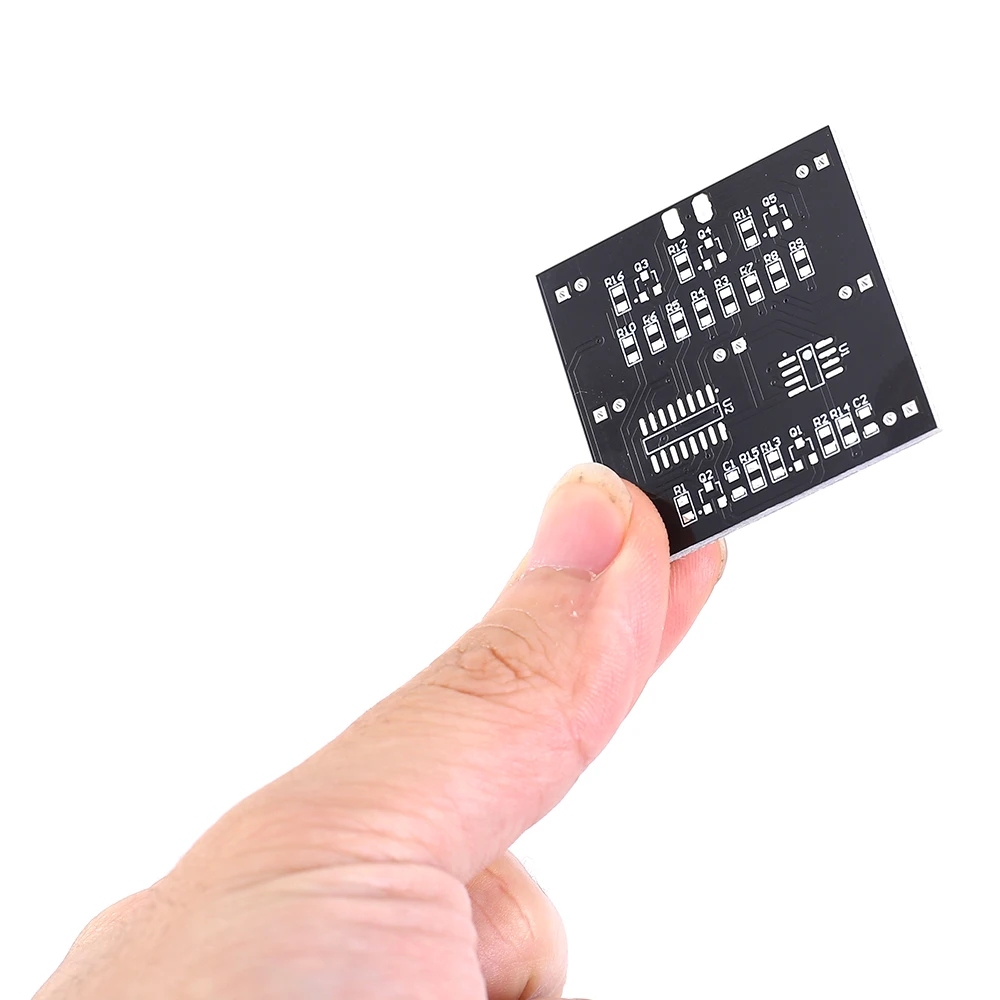
6>.Size(Installed):40*40*11mm

4.Installation Steps(Please be patient install!!!):
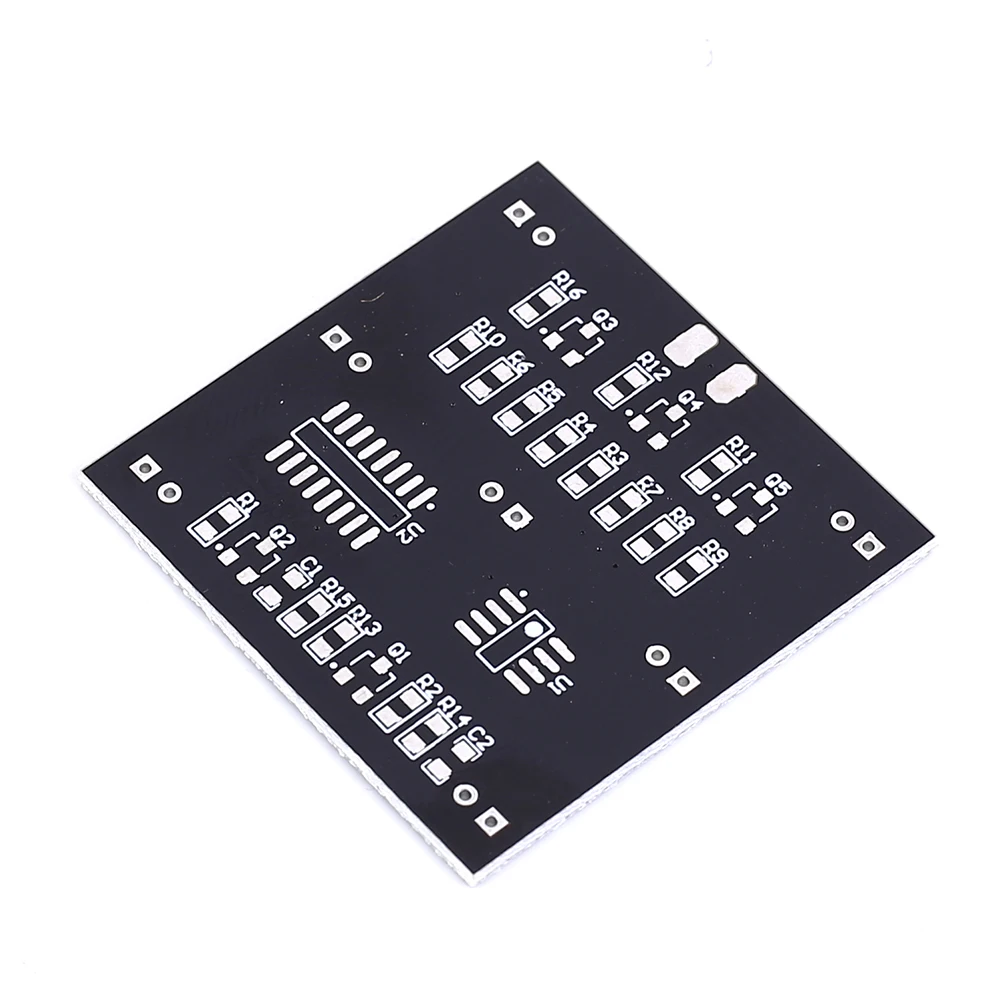
1>.Step 1: Install 1pcs CD4017 SOP-16 at U2.There is a dot on one corner of the IC and there is a white dot on PCB where the IC can place on.These two marks are corresponding to each other and are used to specify the installation direction of the IC.
2>.Step 2: Install 1pcs NE555 SOP-8 at U1 as the same method.
3>.Step 3: Install 3pcs J3 Triode SOT-23 at Q3-Q5.
4>.Step 4: Install 2pcs 2T1 Triode SOT-23 at Q1-Q2.
5>.Step 5: Install 9pcs 10Kohm(103) 0805 SMD Resistor at R1-R9.
6>.Step 6: Install 3pcs 330ohm 0805 SMD Resistor at R10-R12.
7>.Step 7: Install 1pcs 10Mohm(106) 0805 SMD Resistor at R13.
8>.Step 8: Install 1pcs 4.7Mohm(475) 0805 SMD Resistor at R14.
9>.Step 9: Install 1pcs 3.3Mohm(335) 0805 SMD Resistor at R15.
10>.Step 10: Install 1pcs 1Kohm(102) 0805 SMD Resistor at R16.
11>.Step 11: Install 1pcs 1uF 0805 SMD Capacitor which in the transparent shell at C1.
12>.Step 12: Install 1pcs 100nF 0805 SMD Capacitor which in the white shell at C2.
13>.Step 13: Install 7pcs 3mm Yellow LED at D1-D7.
14>.Step 14: Install 9V battery socket.
15>.Step 15: Connect to power supply and enjoy the LED flashing effect. Press touch button to change display effect.